
October 10 Grid portrait / facial proportions /shading
- Nov 16, 2020
- 5 min read
Updated: Nov 1, 2022
https://www.artsy.net/artist/chuck-close
MONDAY OCT 10
Career Corner Video: Architects
Grid It Out! Self Portrait
How can we create a realistic self portrait?
In this project you will:
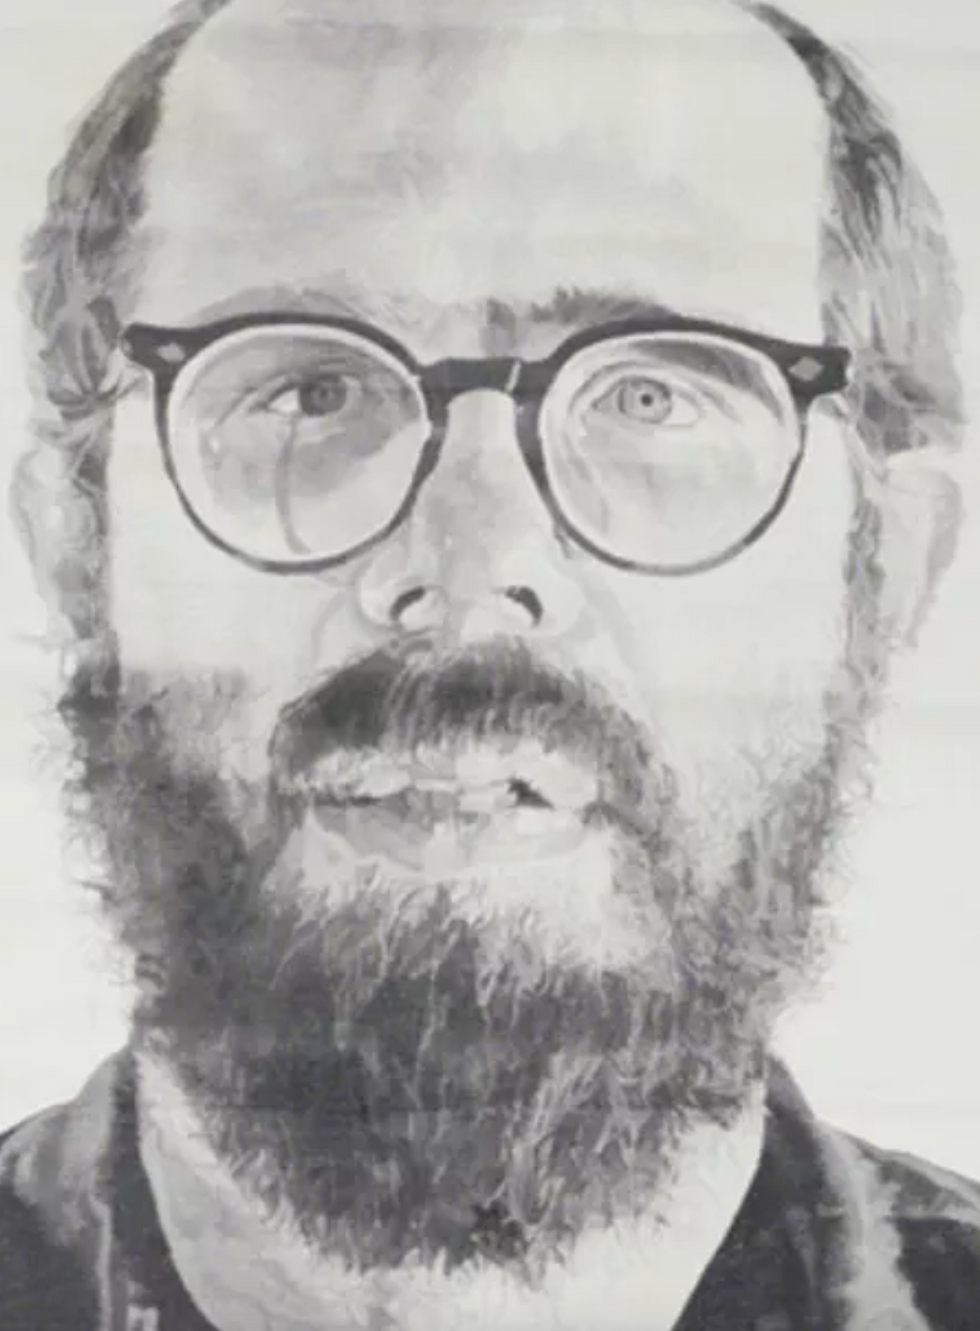
1. Show an understanding and awareness of the work of Chuck Close.
Understand how an artist gets ideas. In your sketchbook write 3 take aways you gleaned from watching the video about Chuck Close.
Watch this video

Share out.
2. Recognize values and create values using drawing pencils. Watch this video on identifying and developing values. Develop Contrast through values.

ASSIGNMENT IN CLASS: Make a gray scale value finder of your own based on the values in your pencil box.
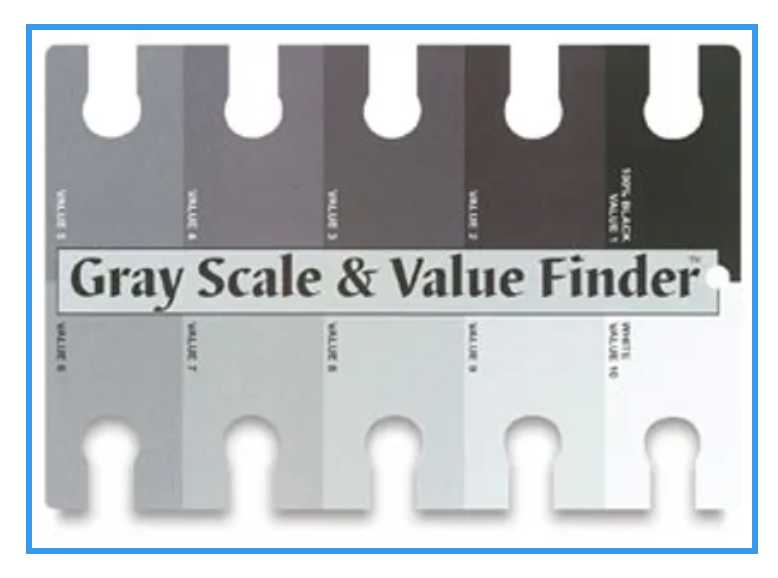

Using a 4"x6" notecard, divide the card into equal squares to represent the pencil grades in your box - reserve the lightest for the white of the paper. Fill the boxes carefully with even pressure for each value. Punch a hole in each at the edge as illustrated.
++++ HAVE SELF PORTRAIT PREPPED AND PRINTED
TUESDAY OCT 11: Analyze / Explore Human Facial Proportions. Draw facial proportions correctly.

Use ruler skills in creating a grid - develop skills in transferring a composition using a grid. Watch this video demonstration on using a grid method.

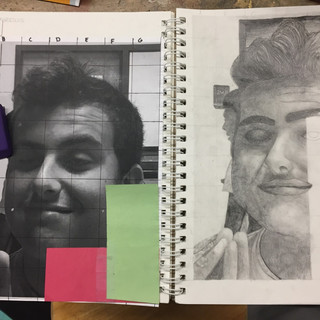
Grid your sketchbook paper first. Use the lightest pencil with light pressure - beginning from the edge of your paper. Use the edges of the ruler as your guide - don't try to measure. BUT - use the same ruler for both your sketchbook and your photo! (Note - the image below has lines that are too dark - you will want to erase them later - so make them visible enough to see - but light enough to erase!
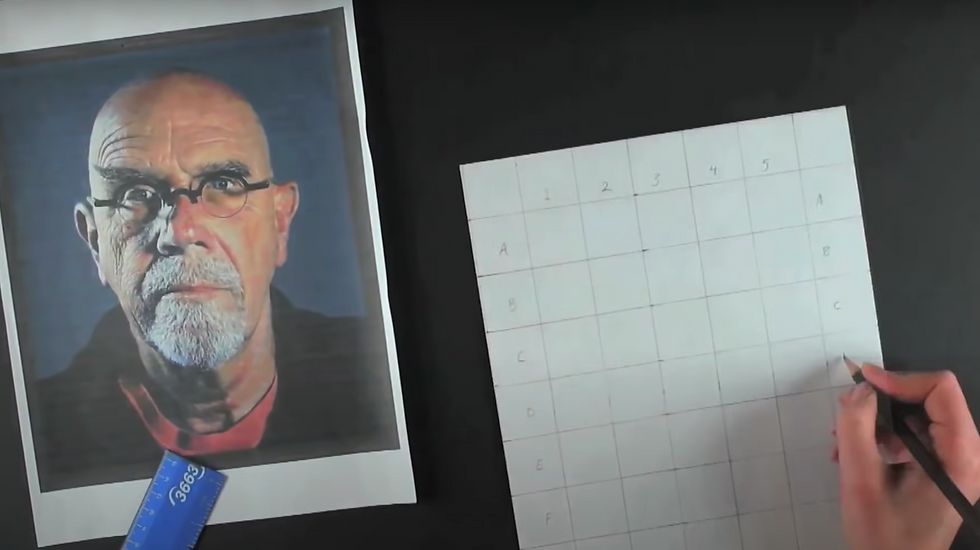
2. Next, Grid your photo in the same manner - using the edge of your page as a starting point, using the edge of your ruler as a guide.
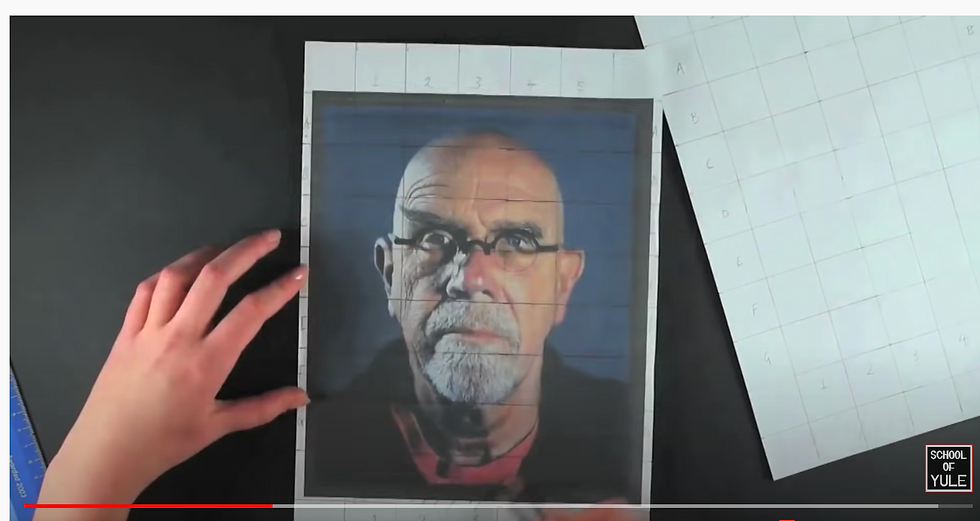
3. Mark the side and top columns with numbers and letters as illustrated on your sketchbook page - Note the top left corner is empty

Tuesday Oct 18
Revisit your self made value finder - compare to scale given and scale on drawing box - are your value steps distinct? And representative of the range of your pencils? Take a few minutes to refine.
Make a "blind" or viewfinder by taping two pieces of construction paper together in an "L" shape corresponding the the size of your grid boxes. Some people prefer to add a third piece or even a fourth to complete the box. This helps you to focus on seeing the lines - edges, values as their own shapes, positive/negative spaces, without naming, and gauge them individually within each box of the grid. When, completed, they come together to form a whole, accurate image.
To begin: Use your L shaped blind and - use two additional pieces to temporarily form a complete square.
Select a box in your photo - 2 - 3 boxes in from top and side- place your blind on the photo and locate the box on your drawing paper. Use your value finder to decide which pencils to begin shading with - see the shapes the values form within that single block - noting where they start and merge within that square - and duplicate on your drawing paper. Take your time. It may be helpful to make halfway marks on your blind.

Once you duplicate a square, evaluate it for accurateness - did you accomplish the range of values represented? In the same shapes and proportions in the square?
Once you feel you have achieved that accuracy, you can :
Start in the upper right corner (or left if you are left handed) and working your way over and down, translate the lines, values and shapes from each grid checking the rows for accuracy. A,1 etc.
Lightly sketch essential contour lines as you see them in each box - making sure to check position within the box for accuracy - as illustrated above - note you will make corrections to these as you add detail and work within each grid box so draw very - very lightly! When you are working in key areas you can lift the blind and use a compass tool to check accuracy.
Continue until complete - use your grey scale value finder to help translate values.


October 24 Mid Drawing Reflection
Self reflect
Supplemental Resources
Drawing Hair Tutorial

Drawing eyes tutorial

Self Portrait using the grid
Name:
0 not observed 1 limited 2 emerging 3 basic 4 skilled 5 accomplished
Project Goals – Work reflects my ability to:
________(5) I can use drawing pencils to create a range of values and develop form
+ my drawing includes 7-9 distinct values created through use of drawing pencils of varying hardness/softness
+ I used shading technique(s) to show contours and develop form
________(5) I can render proportion accurately
+features in my drawing are in correct placement in relation to one another, and are the appropriate size
_______ (5) I can draw and shade shapes accurately helping to achieve an accurate likeness
+ I used contour line and enhanced my drawing with shading techniques
_______ (5) I am engaged with lessons and put forth my best effort
+ I stay on task, am open and receptive to feedback and suggestions
_______ (5) I can reflect and write about my learning including specific skills and techniques and utilizing appropriate art terminology.
Reflect + Share
Open a blank powerpoint. 2Slides only!
Slide 1 is an image of your drawing and your first drawing from the beginning of the year. Place them side by side in the slide.
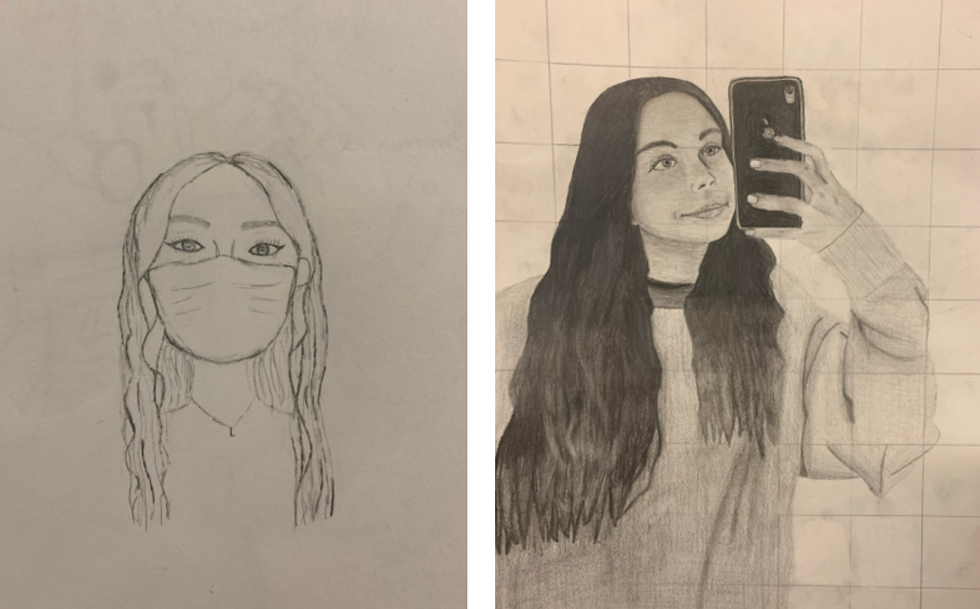
PHOTO TIPS: try to frame your drawing so that you don't see anything but the drawing, avoid shadows on the image- sometimes helps to prop up. If you cant avoid getting other background in the picture, edit it on your computer and crop background out.
Slide 2 is your Reflection
Title: Realistic Self Portrait
Refer to the rubric above and write a reflection describing how you addressed the following points on the rubric -
Elements + Principles of Design
How did you use a range of value to show form? Describe the shading techniques you used. (Tonal, hatching/cross-hatching, stippling, smudging)
How were you able to get accurate shapes of features?
Techniques + Tools
What techniques and tools did you learn and apply to get correct proportions and sizes of features? (Grid method, blind) Describe use of value finder and shading pencils.
Goals + Growth
What were some take aways you had from the mid-drawing reflection? (Describe skills you were developing and applying, goals for the rest of the drawing - and how you met those goals).
How have you grown overall since your first drawing?
POST YOUR POWERPOINT TO THIS PADLET MAKE SURE YOUR NAME IS ON IT! https://padlet.com/jennymontgomery/v8vpc5iekwdkup1e
This is worth points on the project rubric.
EXTENSION
Read the gallery guide and carefully look through the images by Cincinnati artist Jimi Jones. He paints realistic images of people, often historic figures, in order to tell visual stories. In 2016 Ms. Housh interviewed Jimi Jones for this guide and helped curate his art exhibition for the Springfield Museum of Art.
Complete the EdPuzzle video with quiz below. (Reviewing the Gallery Guide & completing the Ed Puzzle video+quiz will result in extra credit)


Comments